
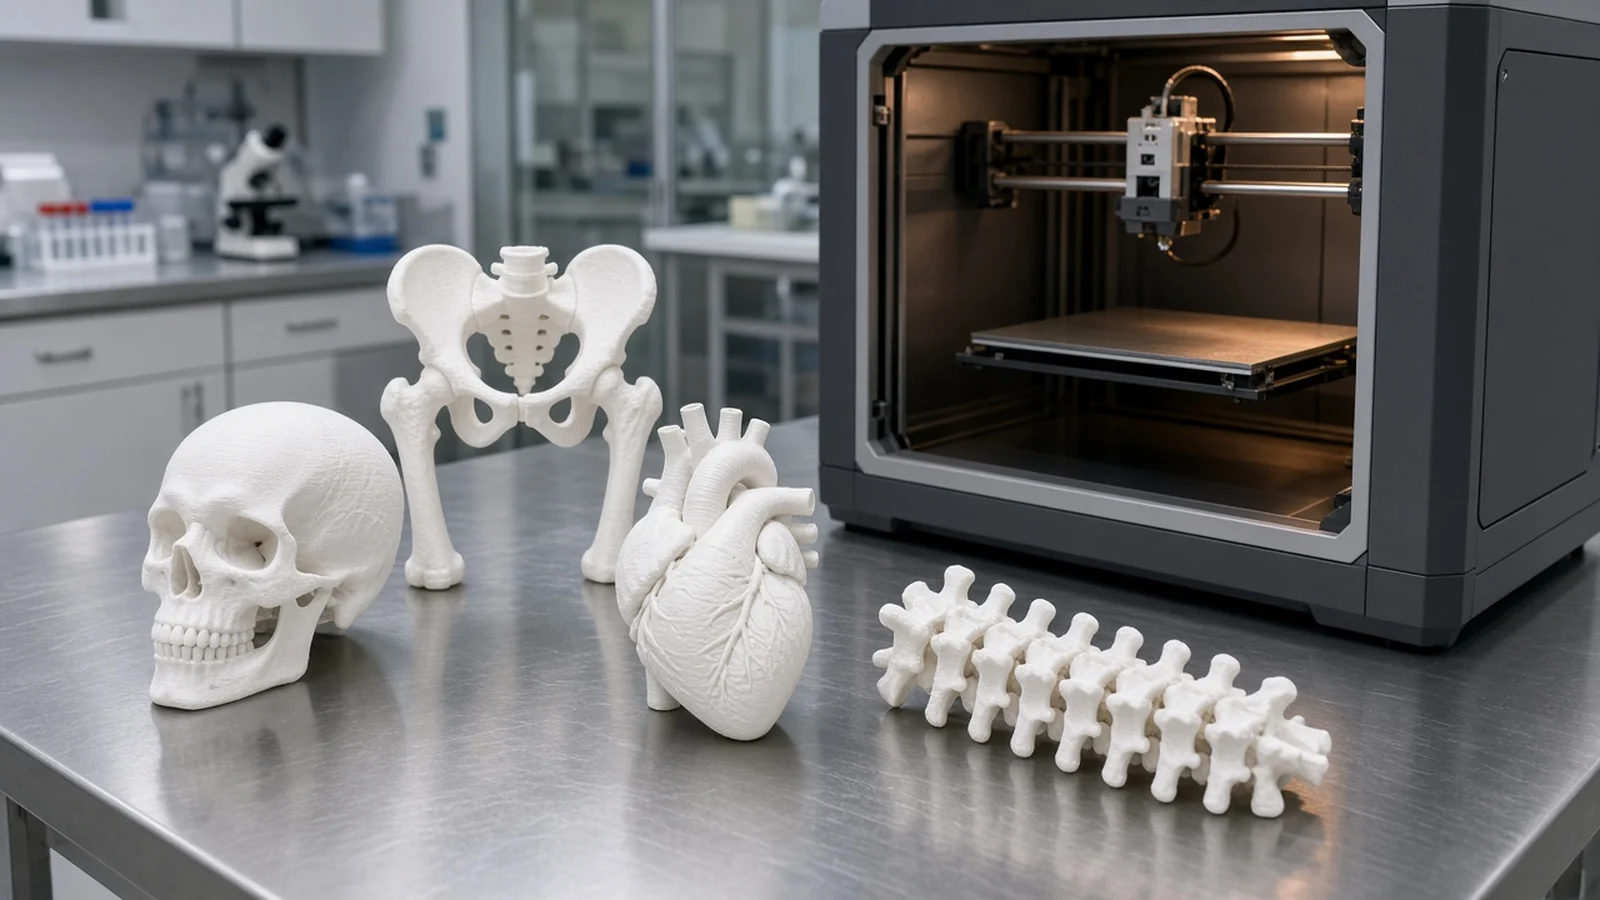
Medical and dental teams increasingly run enclosed industrial FDM beside CNC and molding. Typical jobs: surgical planning models, assembly jigs, trial housings, and ergonomic interfaces. Regulatory pathways vary by country — this guide focuses on equipment and process choices that keep geometry stable and batches traceable.
1. What enclosed FDM is good at
- Anatomical models from CT/MRI-derived STL for education and planning.
- Jigs & fixtures for device assembly or lab workflows.
- Custom interfaces — grips, trial orthotics shapes (confirm local compliance).
QS3Dmachine C6 / C9 enclosed platforms help with chamber temperature and engineering filaments (ABS, ASA, PC). See the broader application overview: furniture, medical & sculpture.
2. Materials and moisture control
Medical-adjacent printing fails more often from wet filament than from printer kinematics. Dry PETG/ABS/PC before print; store spools sealed. Labs that need controlled colors or filled grades often add a small KBL extrusion line so every lot is labeled and printable on the same FDM fleet.
3. Quality checklist for model shops
- Lock layer height / wall settings per model class (bone vs soft-tissue mock).
- Record filament lot on the traveler with the patient or SKU ID.
- Verify critical dimensions with calipers or scan-to-CAD after first article.
- Separate “training only” prints from any clinical-use pathway clearly.
4. When FGF or LSAM enters the picture
Large training phantoms or fixture bases may shift to FGF for volume. Meter-scale displays stay on LSAM. Most anatomical and device housings remain enclosed FDM.
Tags: industrial FDM printer, C6 FDM, C9 FDM, engineering filament, production 3D printing, 3D printed furniture, industrial 3D printing, FDM FGF LSAM, filament extrusion, medical 3D printing, sculpture 3D print, local filament factory, QS3Dmachine